Posts

Knee Pain Running Doctor

Anterior Knee Pain and Running

Pain in front of the knee is a common complaint that runners seek advice for from a running doctor. There are many conditions that can cause anterior knee pain including:

  • Patellar tendinitis/tendinosis
  • chondromalacia
  • Patella tracking issues
  • Quadriceps strain
  • Hip flexor strain
  • Capusular ligament sprain
  • Meniscus injury
  • Fat pad syndrome
  • Osgood Schlatter’s disease

It is important to seek treatment from a sports physician and running doctor to get a correct diagnosis, and begin correct treatment immediately.

Knee pain running doctor San Diego

What to expect at your appointment

At our Mission Valley office, our running doctor will take a thorough history of the running injury. After the history is completed an exam will occur which will include some or all of the following: range of motion, orthopedic, neurologic, functional movement, and strength/endurance tests.

Gait analysis is another important aspect for certain running conditions. We currently offer remote gait analysis where current patients can take a treadmill video of themselves running, then email it to our running doctor for evaluation. General recommendations for running technique can be found on our blog here: Increase your Cadence, and Improve Running Posture

Treatment for anterior knee pain

A combination of Active Release Technique, Graston Technique, and a home exercise program resolves many cases of anterior knee pain. We see significant results within 4-8 visits. Our goal is to our runners back to running pain free as soon as possible and have exercises to do to prevent the injury from reoccurring.

If you have been dealing with anterior knee pain during your training, please call our Mission valley office to schedule today. Our running doctors are certified to treat running injuries and get you back to running pain free fast!

Dr. Travis Rose DC is a certified health professional through The Running Clinic. Both Dr. Kevin Rose DC DACBSP and Dr. Travis Rose DC CCSP have treated hundreds of runners including Boston marathon qualifiers, and Olympic trial marathon runners.

IT band syndrome exercises san diego

Cross-Over Gait Correction

Some of the links in this post are affiliate links. We may earn an affiliate commission if you click on a link and purchase an item we recommend. This doesn’t add any additional cost to you, but helps support our business.

How to Fix a Cross-Over Gait

The best way to work on crossover gait is to perform running drills! Many runners are simply unaware that they run with a cross-over gait. Specific running drills to address a this type of gait will significantly improve running efficiency and decrease risk for injury. At our Mission Valley sports injury clinic, we stress the importance of running drills to all of our running patients.

There are three main drills that significantly reduce cross-over gait: increasing cadence, running wider, and activating the hip stabilizers while moving through gait.

  1. Cadence– I talk extensively about cadence in our blog post here. In a nutshell, by increasing running cadence, there is less time for your feet to travel across midline.  Slow cadence allows more time for your feet to creep over midline.
  2. Run wide using a track line– Run around a track with lane lines (or white bicycle lane line). Run so the line is in the middle of your body. The goal is to land with the inner right foot touching the right outer border of the line and vice versa for the left foot. It may feel like you are running VERY wide but with practice it will feel more normal. Practice this drill on the straight away on the track about 4-6 times. Over time you will start to run wider naturally.
  3. Walking hip hikers– The goal is to activate the gluteal muscles, and hold while taking a step. This builds the mind body connection to the hip/core muscles while moving during gait. Watch the video below for a detailed look at the walking hip hiker.

What About Increasing Core Strength?

Core and gluteal strengthening drills alone will not magically get rid of a cross-over gait; again working on correcting the gait will do that. That being said, working on the core and gluteal muscles in conjunction with gait retraining, will support proper running gait. The stronger the supporting muscles are, the more capable they are to resist fatigue during workouts and races. Some runners have no issues with their gait for runs between 3 and 10 miles. Once long runs increase to the 12, 14, 16 mile range, gait issues begin to occur. In this scenario, strengthening workouts to the core and gluteal muscles are paramount to avoid running form breakdown during longer runs. Here are a few of our favorite core and gluteal strengthening exercises:

Gluteal bridge

Lay flat on your back, knees bent, and feet flat on the floor just wider than hip width apart. Brace your abdomen to engage the core. Press through your heels to lift the pelvis upward until it is in line with the knees and shoulders. Avoid arching through the back. Add a band around the knees for more gluteal activation. Sets: 3 Reps: 10-20

Bridges improve core and gluteal muscle strength, important for running               Bridges improve core and gluteal muscle strength, important for running

Monster walking 

Place a medium resistance mini-loop band around the ankles. Spread feet shoulder width apart and sit into a shallow squat, keeping your core engaged. Step forward and slightly outward with one foot and then repeat with the other. Take 5-10 steps forward and 5-10 steps backward. Continue until you feel a good exercises burn in the muscles of the outer hip. Sets: 3 Reps: Go until it burns

Walking with a band strengthens the gluteus medius muscle to improve hip and low back stability               Walking with a band strengthens the gluteus medius muscle to improve hip and low back stability

Crab walking     

Place a medium resistance mini-loop band around the ankles. Spread feet shoulder width apart and sit into a shallow squat, keeping your core engaged. Take a step to the side, then take the same distance step with the other foot in the same direction; important to not over step inward with the follow up step as this looses tension in the band. Take 5-10 steps one direction and 5-10 steps back in the other direction. Continue until you feel a good exercises burn in the muscles of the outer hip. Sets: 3 Reps: Go until it burns

Walking with a band strengthens the gluteus medius muscle to improve hip and low back stability               Walking with a band strengthens the gluteus medius muscle to improve hip and low back stability

Dead bug

Lay on your back, with your knees and hips bent to 90 degrees and arms held straight in front of shoulder. Brace your core by squeezing back and abdominal muscles. Slowly lower one leg towards the ground, resisting the back from arching up off the ground. Alternate legs keeping a slow pace the entire time. If this version of the dead bug is too difficult, keep the knee bent when moving the leg and perform heel taps. Sets: 3 Reps: 10 per leg

Dead bug improves lumbo-pelvic muscle control important for running               Dead bug improves lumbo-pelvic muscle control important for running

Side plank

Begin by laying on your side with the elbow tucked underneath the shoulder and feel sacked. Keep the body as straight as possible and lift the pelvis off the ground. Focus on contracting the muscles on the side closest to the floor. Perform the side plank on both sides. Sets: 3 Reps: 1 Hold: 30-60 seconds

Side plank improves lateral core stability which is important for running

Self Myofascial Release to the Gluteal muscles

Take a look at the video below. By using a lacrosse/massage ball into the muscles, muscle tension will decrease which can help with soreness, pain, tightness in the area.

These strategies help with correcting a cross-over gait. If you are experiencing shin, knee, hip, back, or foot pain from running, I highly recommend getting the injury evaluated. A targeted approach to your specific injury can prevent time lost to injury. At our Mission Valley office, we perform Active Release Technique, Graston technique, and rehabilitative exercise to keep our endurance athletes competing pain free!

Increase your Cadence!

Increase Your Cadence!

Increasing running cadence will help reduce your risk for injury, and make you a more efficient runner (potentially faster runner as well)! Now that you know the benefit of increasing cadence, let’s go back and look and some of the main points that go into tweaking this aspect of running.

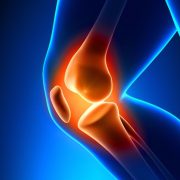
Break the Injury Cycle

Annually, 37%-52% of runners experience a running injury. That is VERY high injury rate! Many of the injured runners I treat are new to running, want to manage the symptoms before their upcoming race, and then stop running afterward because of the nagging symptoms they are experiencing. The following year, the same cycle occurs: signed up for another half marathon, developed an injury, barely made it through the race, and then stopped running due to the nagging symptoms. Stop it! Make changes to why you are injured and then you will no longer have to worry about dealing with nagging injuries. The BIGGEST change you can make is improving your turn over or in other words, increasing running cadence.

What is Cadence?

Running cadence is the number of times your feet come in contact with the ground, measured in steps per minute (every time either foot touches the ground) or strides per minute (every time the same foot touches the ground). The goal cadence is 170-190 steps per minute or 85-95 strides per minute.

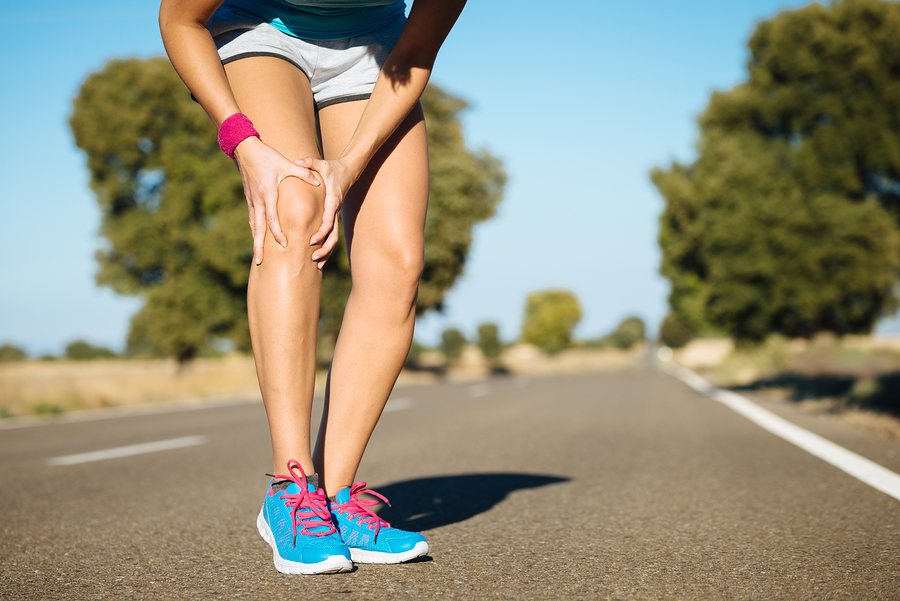
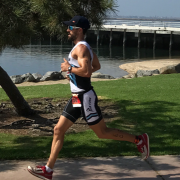
This moment was late in a Half Ironman run, my cadence dropped to 170 (normally run comfortably in mid 180s) and began running with more of a heel strike pattern; you can see the lead leg out in front of the body which will increase shock to the body.

How does this help decrease risk for injury?

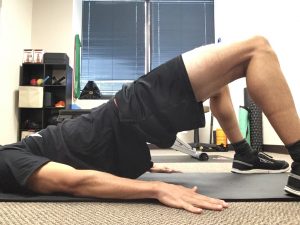
Increasing running cadence to 170-190 steps per minute, decreases the vertical loading rate during the gait cycle. Basically, you run with less bounce and less impact to your legs reducing the amount of force traveling through the body. Running with a slower cadence (< 170) allows your foot to travel further away from the body before initial contact, and results in more of a “braking” force once contact is initiated (see photo). Your muscles, tendons, ligaments, and joints absorb that extra shock and remain under load longer due to the foot being further away from the body.  Increased load + increased time under load = increased strain to muscles, tendons, ligaments and joints which will eventually lead to failure once enough strain has accumulated. Main take away, increasing running cadence decreases the vertical loading rate, loading time, and overall strain in the body.

How do I measure cadence?

Easy! If you have a GPS watch, there is a setting for cadence (most watches these days) that you can select to show on your display screen while running.

If you do not have a GPS watch with that function, then use a timer and count your steps to get your cadence as follows: count the number of steps you take for 20 seconds. Take that number and multiply by 3 to get your steps per minute. To make the math easier, count every time the same foot touches the ground to get the number of strides you take. Multiply by 3 to get strides per minute (85-95 strides is the goal).

How long will it take to run naturally with a faster cadence?

It can take 3-6 months before you are able to run at that range effortlessly. We recommend doing cadence drills twice a week. Do not over think your cadence and force yourself to run with a faster cadence every run. Increasing running cadence takes time and patience. Every 6 weeks, run 3 miles and try to keep the cadence elevated the entire run; remember what the average cadence was and try to increase it the next test run.

The only way I can get my cadence up is to run faster, is that normal?

That is very normal initially. However, with practice you will learn how to run with a faster cadence at all speeds! Technically you can “run” with a 170-190 cadence while not moving. What changes is the width of the steps when changing speed but the cadence should still fall into that range. Our advanced cadence drills help with this.
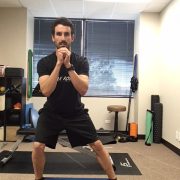
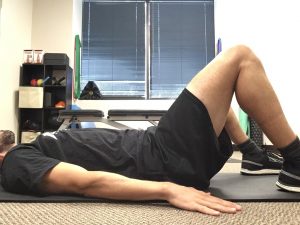
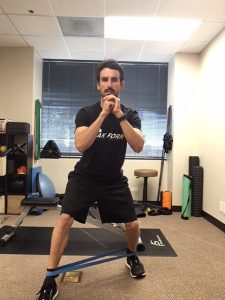
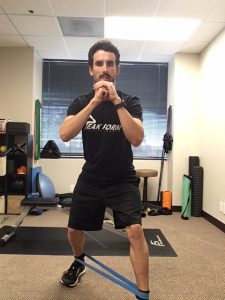
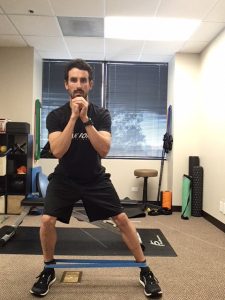
Beginning Drills

Cadence

Garmin Fenix with cadence option

No GPS watch- Run 20 seconds as you normally would, count your steps (or strides) for the next 20 seconds, then go back to your normal running for the last 20 seconds. Repeat 5 times

GPS watch- Set the display to show cadence, run for 1 minute working on getting your stride turn over quicker. Look at the watch periodically to see the cadence. Repeat 5 times.

RunTempo- Application for smartphones. It is a metronome that you can set a specific cadence. Every time you hear a “beep” your foot should hit the ground. If you know your cadence is let’s say 155, set RunTempo to 165 and run for 1 minute. Once you can easily match the cadence, bump up the cadence by 5 until you are in range. Once in the proper range, experiment by working at the different cadences 170-190 to see where you “feel” the best.
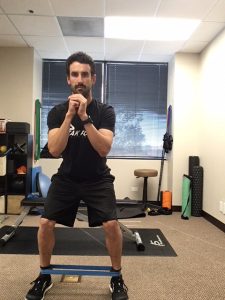
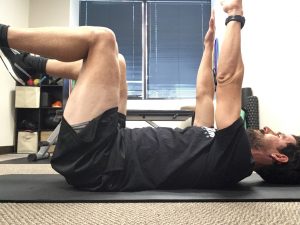
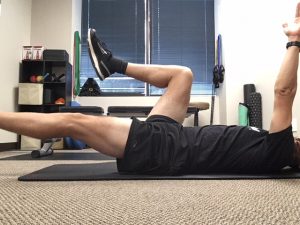
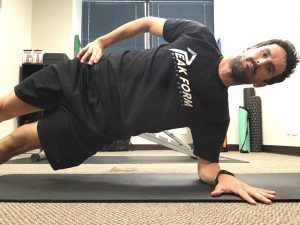
Advanced Drills

Cadence Test- Every 6 weeks, run a 5k and try to keep your cadence high the entire time. Make note of the average cadence after the run. Use that average cadence as your new benchmark for cadence drills. If you averaged 165, perform drills with the goal of 170 or 175. Repeat test and check again 6 weeks later.

Treadmill Roller Coaster– Once you can easily run in the 170-190 steps per minute range, now is the time to work on maintaining the cadence at different speeds. Set up a treadmill for 2 minute intervals. The first two minutes, set the treadmill to the slowest pace you can maintain your elevated cadence. For the next two minutes, bump up the pace to a tempo effort. The goal is to maintain the same cadence when switching from the slower pace to the quicker pace. What changes is the step width, but cadence should be the same! Repeat for 5-10 rounds.

Super Cadence Drills– Find a long gradual downhill. Run with a “as fast as possible” cadence on the way down for 1 minute. The goal is to get your cadence as fast as possible often reaching above 200 steps per minute. Repeat 5-10 times. I recommend this drill for triathletes to get there legs used to having a very quick turn over so when they run off the bike and their legs feel sluggish, what feels “slow” is actually still in the recommended cadence range due to the practice at running with an extremely high cadence.

There you have it, one of the easiest yet best ways to correct running form is increasing running cadence. If you are dealing with an injury, please get evaluated by a sports minded healthcare provider. At our Mission Valley sports injury clinic, we help countless runners overcome injury. Changing cadence while injured may result in worsening of symptoms so it is important to have a proper evaluation before making any significant changes to your workouts.


Peak Form Health Center

Please call 619-818-4306 or visit www.peakformhealthcenter.com to schedule!
2635 Camino del Rio South #200
San Diego, CA 92108