Cross-Over Gait Correction
Some of the links in this post are affiliate links. We may earn an affiliate commission if you click on a link and purchase an item we recommend. This doesn’t add any additional cost to you, but helps support our business.
How to Fix a Cross-Over Gait
The best way to work on cross–over gait is to perform running drills! Many runners are simply unaware that they run with a cross-over gait. Specific running drills to address a this type of gait will significantly improve running efficiency and decrease risk for injury. At our Mission Valley sports injury clinic, we stress the importance of running drills to all of our running patients.
There are three main drills that significantly reduce cross-over gait: increasing cadence, running wider, and activating the hip stabilizers while moving through gait.
- Cadence– I talk extensively about cadence in our blog post here. In a nutshell, by increasing running cadence, there is less time for your feet to travel across midline. Slow cadence allows more time for your feet to creep over midline.
- Run wide using a track line– Run around a track with lane lines (or white bicycle lane line). Run so the line is in the middle of your body. The goal is to land with the inner right foot touching the right outer border of the line and vice versa for the left foot. It may feel like you are running VERY wide but with practice it will feel more normal. Practice this drill on the straight away on the track about 4-6 times. Over time you will start to run wider naturally.
- Walking hip hikers– The goal is to activate the gluteal muscles, and hold while taking a step. This builds the mind body connection to the hip/core muscles while moving during gait. Watch the video below for a detailed look at the walking hip hiker.
What About Increasing Core Strength?
Core and gluteal strengthening drills alone will not magically get rid of a cross-over gait; again working on correcting the gait will do that. That being said, working on the core and gluteal muscles in conjunction with gait retraining, will support proper running gait. The stronger the supporting muscles are, the more capable they are to resist fatigue during workouts and races. Some runners have no issues with their gait for runs between 3 and 10 miles. Once long runs increase to the 12, 14, 16 mile range, gait issues begin to occur. In this scenario, strengthening workouts to the core and gluteal muscles are paramount to avoid running form breakdown during longer runs. Here are a few of our favorite core and gluteal strengthening exercises:
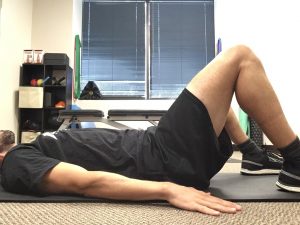
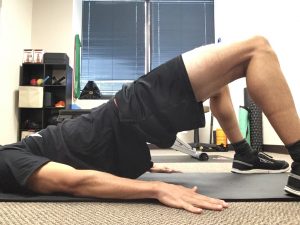
Gluteal bridge
Lay flat on your back, knees bent, and feet flat on the floor just wider than hip width apart. Brace your abdomen to engage the core. Press through your heels to lift the pelvis upward until it is in line with the knees and shoulders. Avoid arching through the back. Add a band around the knees for more gluteal activation. Sets: 3 Reps: 10-20
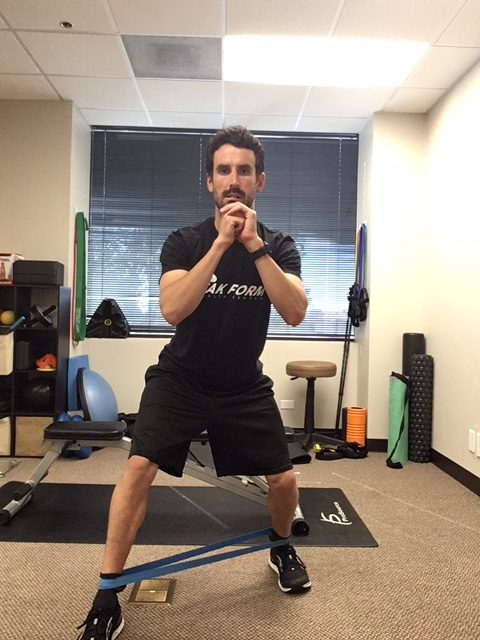
Monster walking
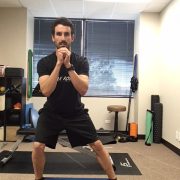
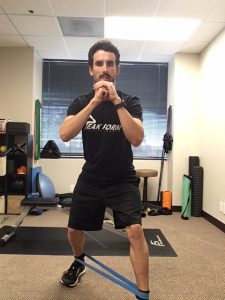
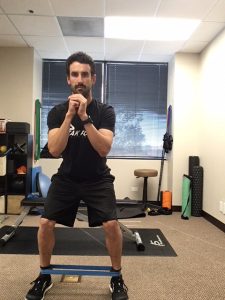
Place a medium resistance mini-loop band around the ankles. Spread feet shoulder width apart and sit into a shallow squat, keeping your core engaged. Step forward and slightly outward with one foot and then repeat with the other. Take 5-10 steps forward and 5-10 steps backward. Continue until you feel a good exercises burn in the muscles of the outer hip. Sets: 3 Reps: Go until it burns

Crab walking
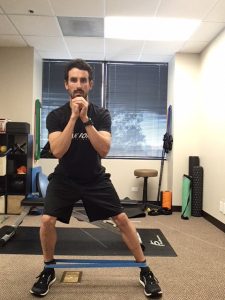
Place a medium resistance mini-loop band around the ankles. Spread feet shoulder width apart and sit into a shallow squat, keeping your core engaged. Take a step to the side, then take the same distance step with the other foot in the same direction; important to not over step inward with the follow up step as this looses tension in the band. Take 5-10 steps one direction and 5-10 steps back in the other direction. Continue until you feel a good exercises burn in the muscles of the outer hip. Sets: 3 Reps: Go until it burns
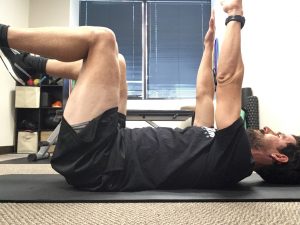
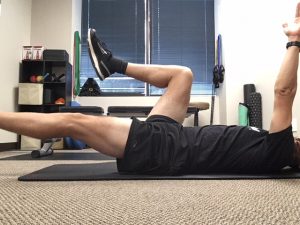
Dead bug
Lay on your back, with your knees and hips bent to 90 degrees and arms held straight in front of shoulder. Brace your core by squeezing back and abdominal muscles. Slowly lower one leg towards the ground, resisting the back from arching up off the ground. Alternate legs keeping a slow pace the entire time. If this version of the dead bug is too difficult, keep the knee bent when moving the leg and perform heel taps. Sets: 3 Reps: 10 per leg
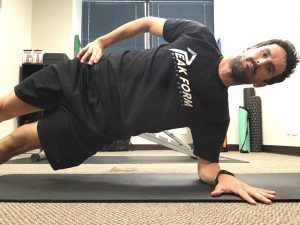
Side plank
Begin by laying on your side with the elbow tucked underneath the shoulder and feel sacked. Keep the body as straight as possible and lift the pelvis off the ground. Focus on contracting the muscles on the side closest to the floor. Perform the side plank on both sides. Sets: 3 Reps: 1 Hold: 30-60 seconds
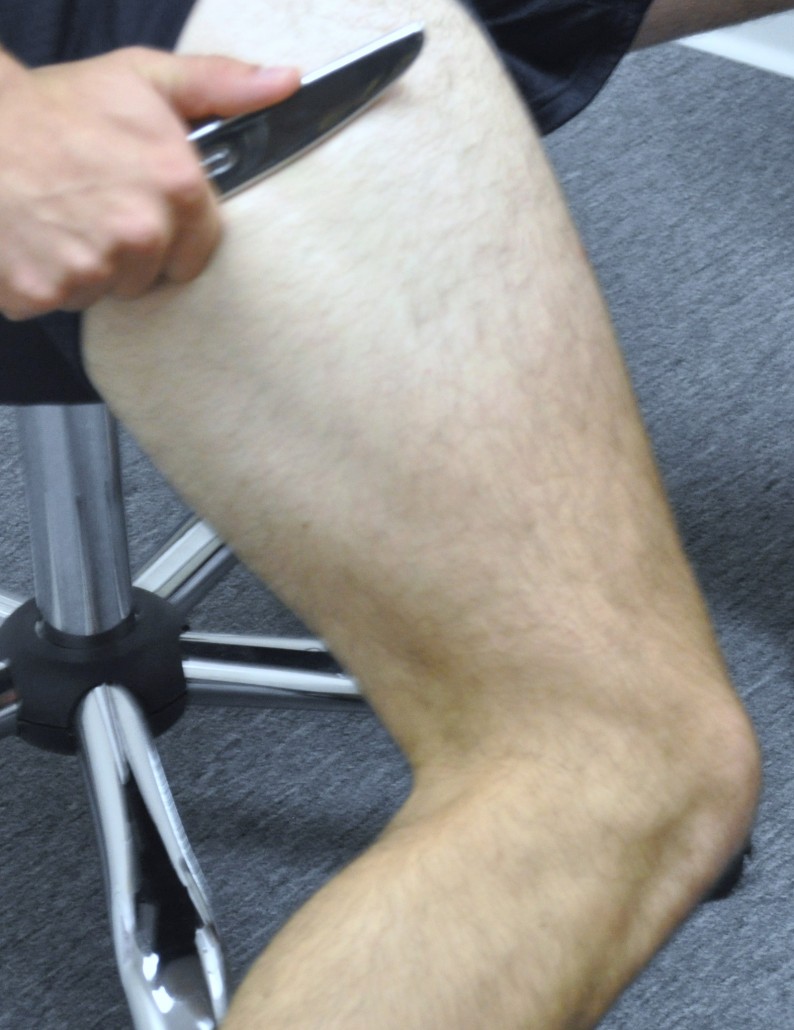
Self Myofascial Release to the Gluteal muscles
Take a look at the video below. By using a lacrosse/massage ball into the muscles, muscle tension will decrease which can help with soreness, pain, tightness in the area.
These strategies help with correcting a cross-over gait. If you are experiencing shin, knee, hip, back, or foot pain from running, I highly recommend getting the injury evaluated. A targeted approach to your specific injury can prevent time lost to injury. At our Mission Valley office, we perform Active Release Technique, Graston technique, and rehabilitative exercise to keep our endurance athletes competing pain free!